A program you can see
Most languages start with text on a screen and leave windows for later. xTalk starts with the windows. Everything you see in a program is an object, and every object can hold a script:
- A stack is a window, and the file it is saved in.
- A stack holds one or more cards. You see one card at a time, like the pages of a book.
- On a card go the controls: buttons, fields for text, graphics (shapes and lines), images, scrollbars, players for sound and video, widgets, and groups, which hold other controls.
You make most controls the way you would in a drawing program: you drag them from the Tools palette onto a card, and set how they look in the Property Inspector. This lesson builds a small card that way, then asks about it from the Message Box and from a button's script. At the end you will see how a script can make controls itself, for the times a program has to.
The Tools palette
The Tools palette holds every kind of control. If it is not showing, choose Tools > Tools Palette. At its top are two modes, and you will switch between them all the time:
- Edit (the arrow) is for building. Click a control to select it, drag it to move it, drag the small squares at its corners to change its size, and double-click it to open the Property Inspector. Clicking a button in Edit mode does not run its script.
- Run (the hand) is for using. The card works as the people who use your program will see it: buttons click, fields take typing, and scripts run.
Below the modes are the controls, in sections: Controls (buttons, fields, menus and the other classic controls), Shapes (graphics), Widgets, and the tools for drawing. To make a control, drag its tile onto your card. If you cannot find one, type part of its name in the palette's filter box.
Build a card
Here is the card the rest of this lesson uses. Each step takes a few seconds:
- Choose File > New Stack > Default Size. A new, empty window opens: your stack, with one card.
- In Edit mode, drag a Standard Button onto the top left of the card. Double-click it to open the Property Inspector, and in its Basic section change the Name to
Hello. - Drag a Field under the button. Drag its bottom right corner to make it wider and taller, and in the Property Inspector name it
Notes. - Drag an Oval Graphic to the right of them. Name it
Sun, and in the Property Inspector's Colors section set its Fill color to orange.
The Property Inspector shows the properties of whatever is selected: its name, its colours, its size and place, and much more. The next lesson, Properties, is all about them. The name matters most for now, because it is how a script finds a control.
A button's script
In Edit mode, select the button and choose Object > Object Script (or right-click it and choose Edit Script). The Script Editor opens with the button's script. Type this in it and press Apply:
on mouseUp
   put "Hello from my first card." into field "Notes"
   put the number of controls
end mouseUp3
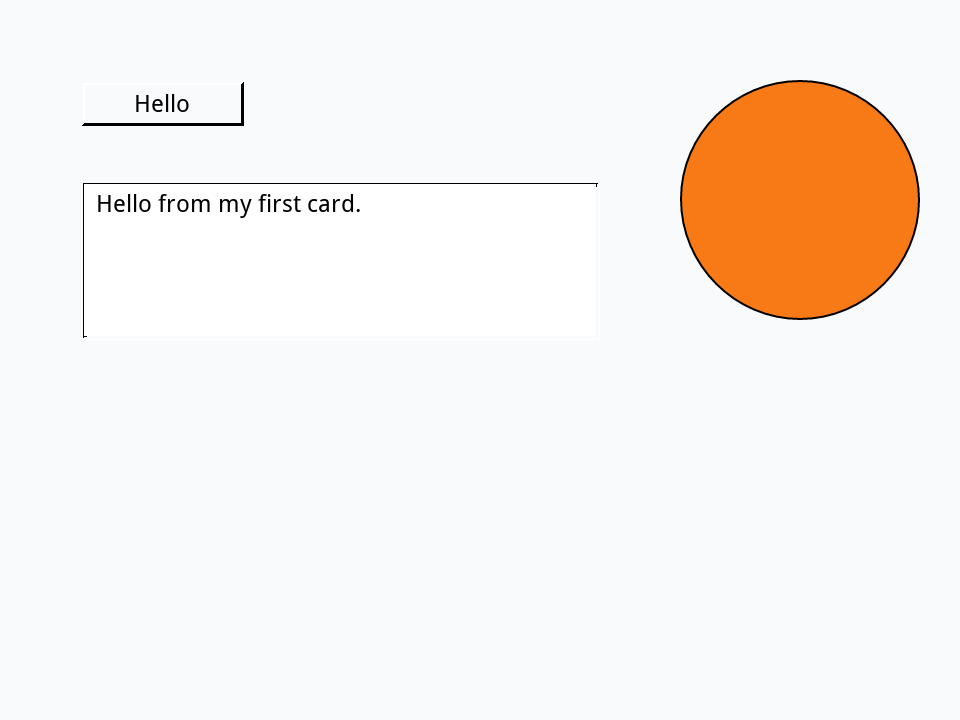
Now click Run at the top of the Tools palette, and click the button. Its first line puts the words into the field on your card. The second line has no container, so its value goes to the Message Box, which opens if it is not showing: there are three controls on the card.
Asking in the Message Box
You do not need a button to ask about your card. Choose Tools > Message Box, type a line and press Return: it runs at once, on the card in front, and a put shows its value. The examples marked Message Box are lines to type there one at a time. Each value replaces the last, so the lesson shows what each line shows, in order.
Counting objects
the number of counts objects of any kind on the current card: buttons, fields, graphics, images, groups, or every kind at once with controls. It also counts the cards of a stack.
put the number of buttons
put the number of fields
put the number of graphics
put the number of controls
put the number of cards1 1 1 3 1
Names and numbers
Every control has a name, which you chose in the Property Inspector, and a number, its place among the controls of its kind on the card, counting from the back: the one you made first is number 1, until you move another behind it (Object > Send to Back). You can refer to it by either:
put the short name of button 1
put the short name of control 2
put the short name of the last control
put the name of field 1Hello Notes Sun field "Notes"
the name gives the kind and the name, the short name just the name. A number changes when you add, delete or reorder controls, so in scripts names are usually the safer choice. A control the palette made keeps the palette's name (Button, Field, Oval) until you change it, and a card with three controls all called Button is hard to talk about: name each control as you make it. The lesson Referring to objects shows more ways to point at one.
Is it there?
Asking for a control that does not exist stops your script with an error. there is a lets you check first:
put there is a button "Hello"
put there is a button "Goodbye"
put there is no field "Notes"true false false
set the width of button "Goodbye" to 200Making controls from a script
Dragging from the palette is how you will make most controls. Sometimes, though, a program has to make them as it runs: a button for each file in a folder, a square for each player in a game. For that a script uses create, which makes a new control on the current card. Give it a name in quotes, then set where it goes with its rect: the left, top, right and bottom of the rectangle it fills, counted in points from the card's top left corner.
The examples in this section are code for the xTalk Academy's playground (Help > xTalk Academy): what they make appears on the playground's stage, a small window of its own, and each run makes a new stage, so you never have to clear up after one. The lesson shows you a picture of it.
create button "Hello"
set the rect of button "Hello" to 40,40,180,76
create field "Notes"
set the rect of field "Notes" to 40,100,300,180
put "Fields hold text you can edit." into field "Notes"
create graphic "Sun"
set the style of graphic "Sun" to "oval"
set the filled of graphic "Sun" to true
set the backgroundColor of graphic "Sun" to "orange"
set the rect of graphic "Sun" to 340,40,440,140
put the number of controls3
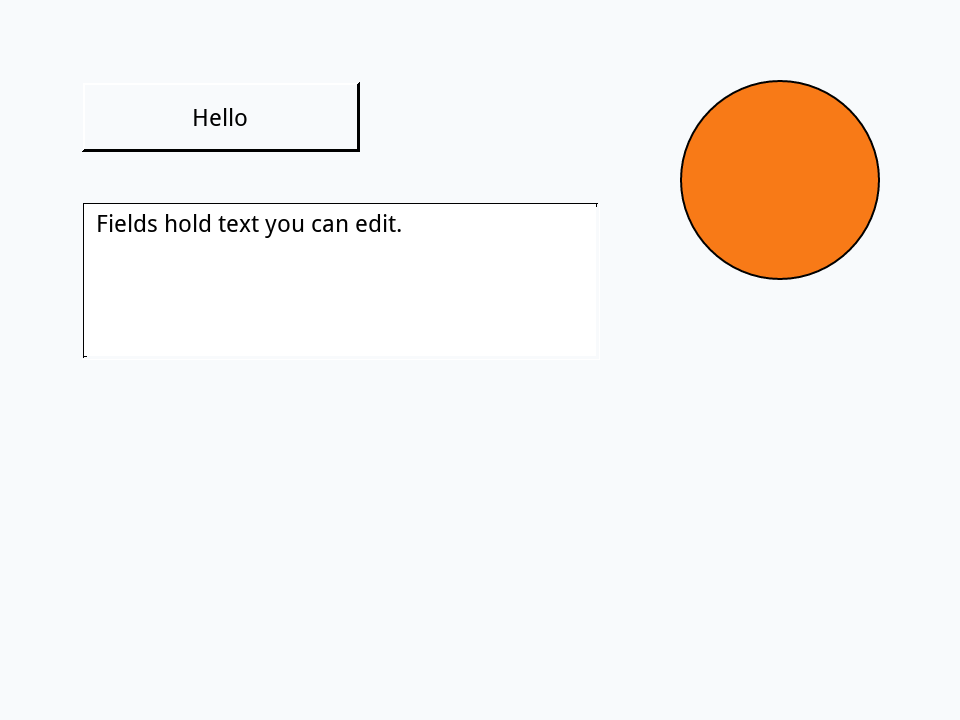
It is the card you built with the palette, made in eleven lines. Click into the field on the stage and type: it is a real field.
The new control is "it"
Straight after create, the variable it holds a reference to the control just made (its long id, which the lesson Referring to objects explains), so you can set its properties without repeating its name:
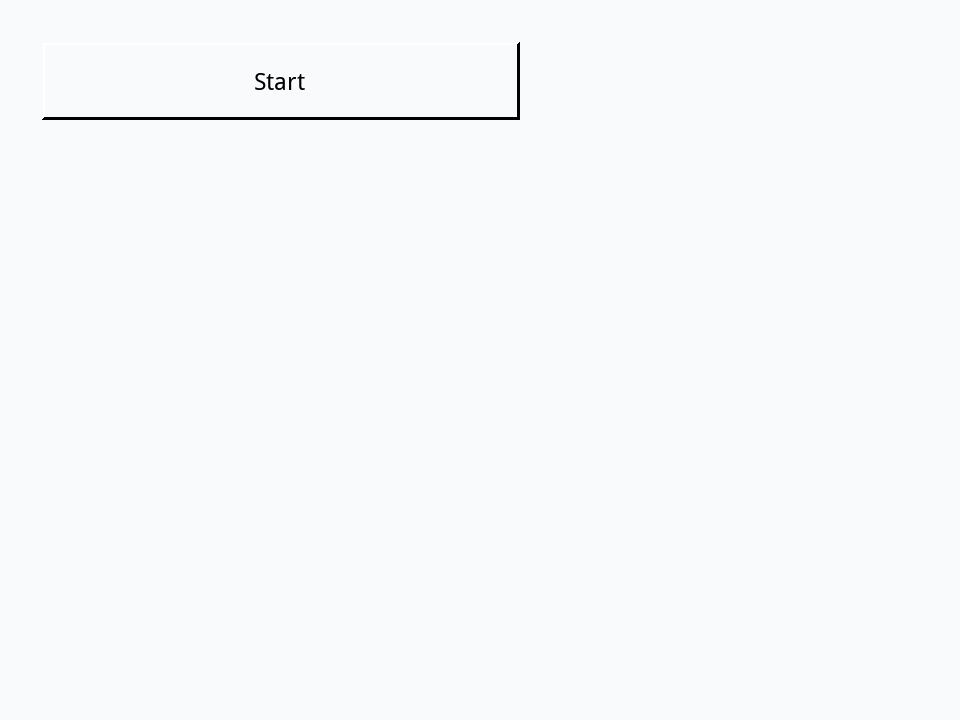
create button "Start"
put the short name of it
set the rect of it to 20,20,260,60
put the width of button "Start"Start 240
Deleting controls
To delete a control by hand, select it in Edit mode and press Delete. A script uses delete, which removes a control with whatever it holds. Deleting a group deletes the controls inside it too.
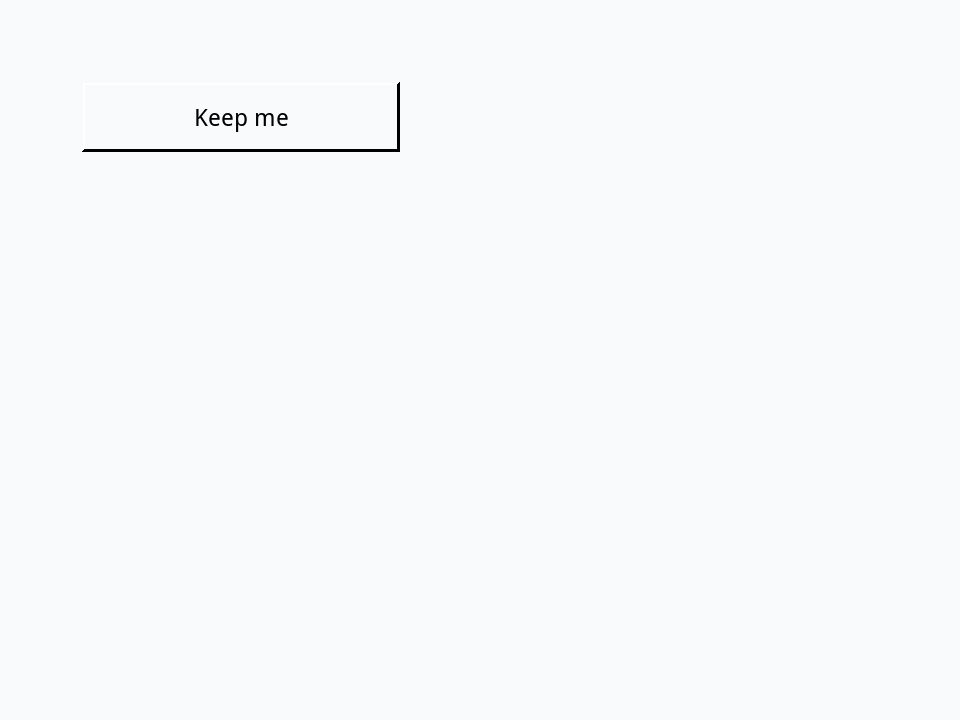
create button "Keep me"
set the rect of it to 40,40,200,76
create button "Throw me away"
put the number of buttons
delete button "Throw me away"
put the number of buttons2 1
Try it yourself
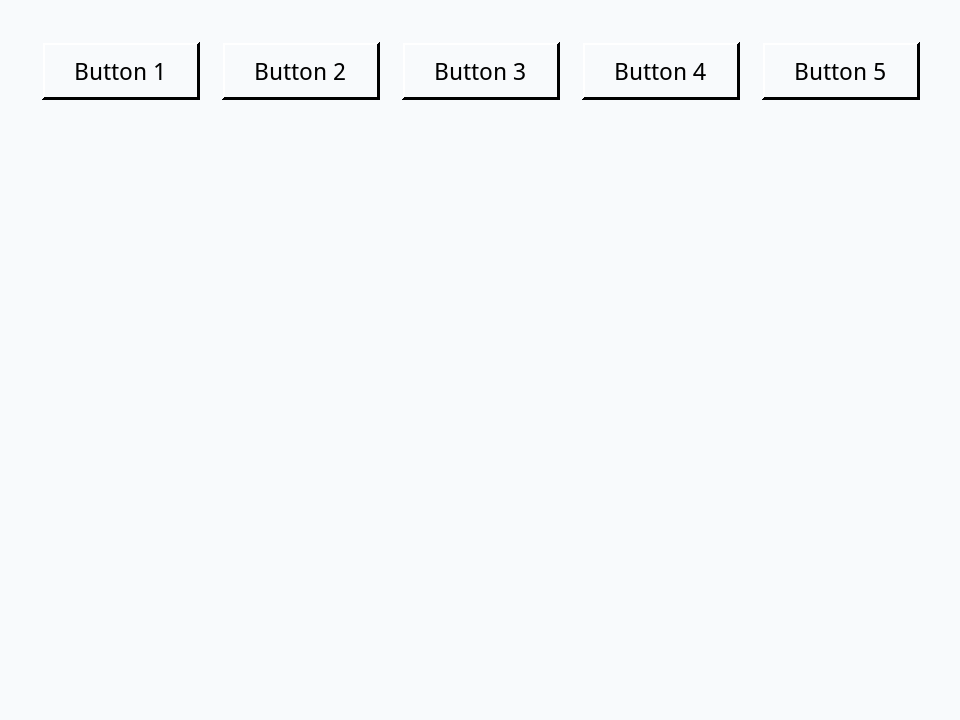
In the playground, make a row of five buttons named Button 1 to Button 5, each 80 points wide and 30 high, 10 points apart, starting 20 points from the left and top of the card. Then put how many buttons there are. (Five buttons are quick to drag from the palette, but fifty are not: this is where a script earns its keep.)
Show a solution
repeat with i = 1 to 5
   create button ("Button" && i)
   put 20 + (i - 1) * 90 into tLeft
   set the rect of it to tLeft, 20, tLeft + 80, 50
end repeat
put the number of buttons5
Words in this lesson
stackcardbuttonfieldgraphiccontrolTools paletteProperty InspectorMessage BoxEdit modeRun modethe number ofnamecreatedeleteEach one finds every lesson that uses it. The Dictionary has the whole story of each, with its syntax and more examples.